MENU

If you’ve recently completed a replacement window project on your New York or New Jersey home, you probably aren’t dreading winter’s arrival as much this year because you know there won’t be any more cold, drafty corners. Maybe you are even one of those people who anxiously waits for the first snowfall? This year you can relax in front of the picture window and enjoy the landscape as it silently transforms from dull to dazzling without dreading the heating bill.
As beautiful. fresh snow blankets the lawn with a clean, sparkly surface some of us just smile from the tips of our pointy little toes to the top of our knit-topped head. But, after a week of shoveling, blowing and packing, that inner song of joy can turn into a moaning chorus of “Oh! My aching back!” Skip the aches and pains with this Renewal by Andersen of New Jersey & New York Metro blog post packed with tips gleaned from professional snow removal experts and physicians who treat patients with back and muscle injuries.
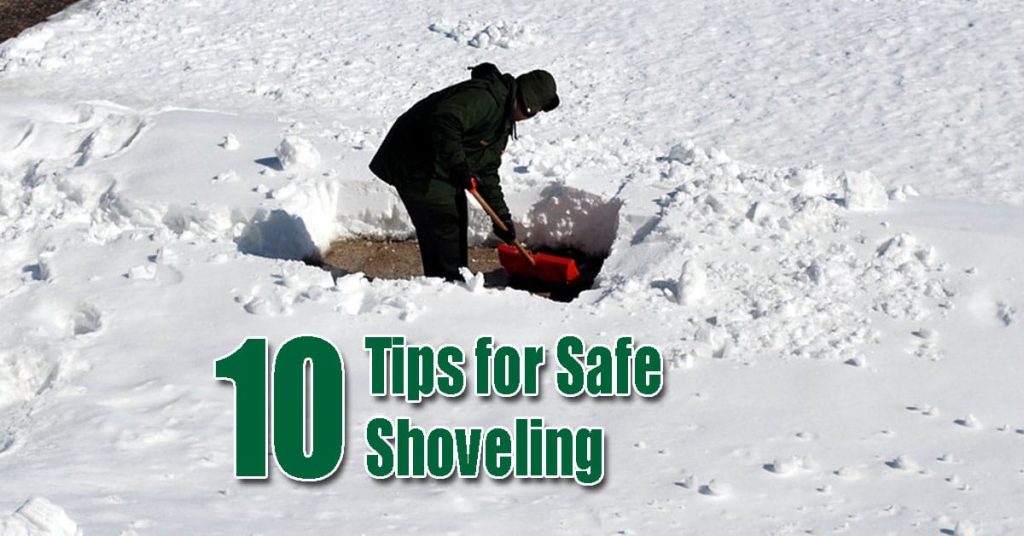
Here’s the snow removal scoop on the proper way to protect your back in 10 easy to remember tips.
#1. Check with your doctor before lifting a shovel. While shoveling is great exercise, people who are normally sedentary may be at risk for a heart attack if you dive right in. Check with your doctor to make sure you are healthy enough for snow and ice removal work. Warm up several minutes before you get to work.
#2. Embrace the exercise. Did you know that 15 minutes of snow shoveling burns the same amount of calories a walking a 15-minute mile or stair climbing for 15 minutes – 150 calories. When done properly, you can get in a workout without even going to the gym!
#3. Dress in light-weight (and water-resistant) layers of clothing instead of bundling up with one heavy jacket. Make sure you have suitable gloves and a hat. And, avoid slips by wearing foot-gear with traction or slip-resistant soles.
#4. Avoid bending at the waist. This technique may feel easier for when you first get started; however, you’ll over-stress back muscles. Lift with your legs. The proper stance is to squat down, with knees apart and bent. Keep your upper body, especially your back, straight throughout the lift.
#5. Resist the urge to “throw the snow.” Just holding a heavy-laden shovel out in front of you can strain your spine. Slinging or throwing a shovel full and overflowing with snow will exacerbate the force. Use a wheelbarrow or walk to the designated dump spot with each shovel load.
#6. Slow down, and shovel small amounts of snow at a time. Your work will take a bit longer, but your back won’t be screaming when you’re finished.
#7. Pace yourself. Take breaks every 10 to 15 minutes to grab a drink of water, or warm up inside if the temperature is biting and the wind is blowing.
#8. Make sure you have the proper tools. Working with a shovel that has a handle that is too long for your body, or a bowl (that’s the scoop) that is too large can make shoveling harder than it has to be. Professionals tend to use shovels with longer handles and larger scoops, where the general population may benefit from using a shovel with a shorter handle (so you don’t have to wrestle the tool) and a smaller bowl (so you are less likely to overload yourself with weight).
#9. Lighten your load. There are study plastic shovels that will stand up almost as well as metal shovels – again reducing the empty weight, which makes the loaded weight less as well. Consumer Reports reviewed some of the different shovel types on the market a few years ago, and their article and video on snow removal are worth a few minutes of your time if you aren’t sure which tool is best for you.
#10. Rest & Recuperate when your job is done, head on inside and reward yourself with a steaming cup of hot chocolate or your favorite beverage. You’ll be replenishing your body with vital fluids, and helping your body relax and unwind after the workout. If you love watching the winterscape, head on over to the picture window and settle in for a few minutes, or a few hours, watching the world go by.
We hope these tips will help our New Jersey & New York Metro neighbors protect their backs this winter when the snow begins to fall. If you haven’t already upgraded your home with Renewal by Andersen replacement windows and patio doors, we invite you to fill in the short form on this page or call (866) 609-5033 to schedule an in-home consultation. We wouldn’t want you to miss even one minute of the glorious snow season because your home windows are cloudy, damaged, or just worn out.

Learn Everything You Need to Know BEFORE Buying Replacement Windows